
Menu > Process
Process | Interior, Exterior, Cabinets
Good painting comes down to the details.
The final result matters, but the process is what gets it there.
At Felix Painting, every project starts with clear communication, careful prep, and respect for your home. From interior painting and exterior painting to cabinet painting, we make sure you understand what is happening, what comes next, and how the work will be handled.
This page walks you through how we approach each service so you can feel confident before we ever pick up a brush.
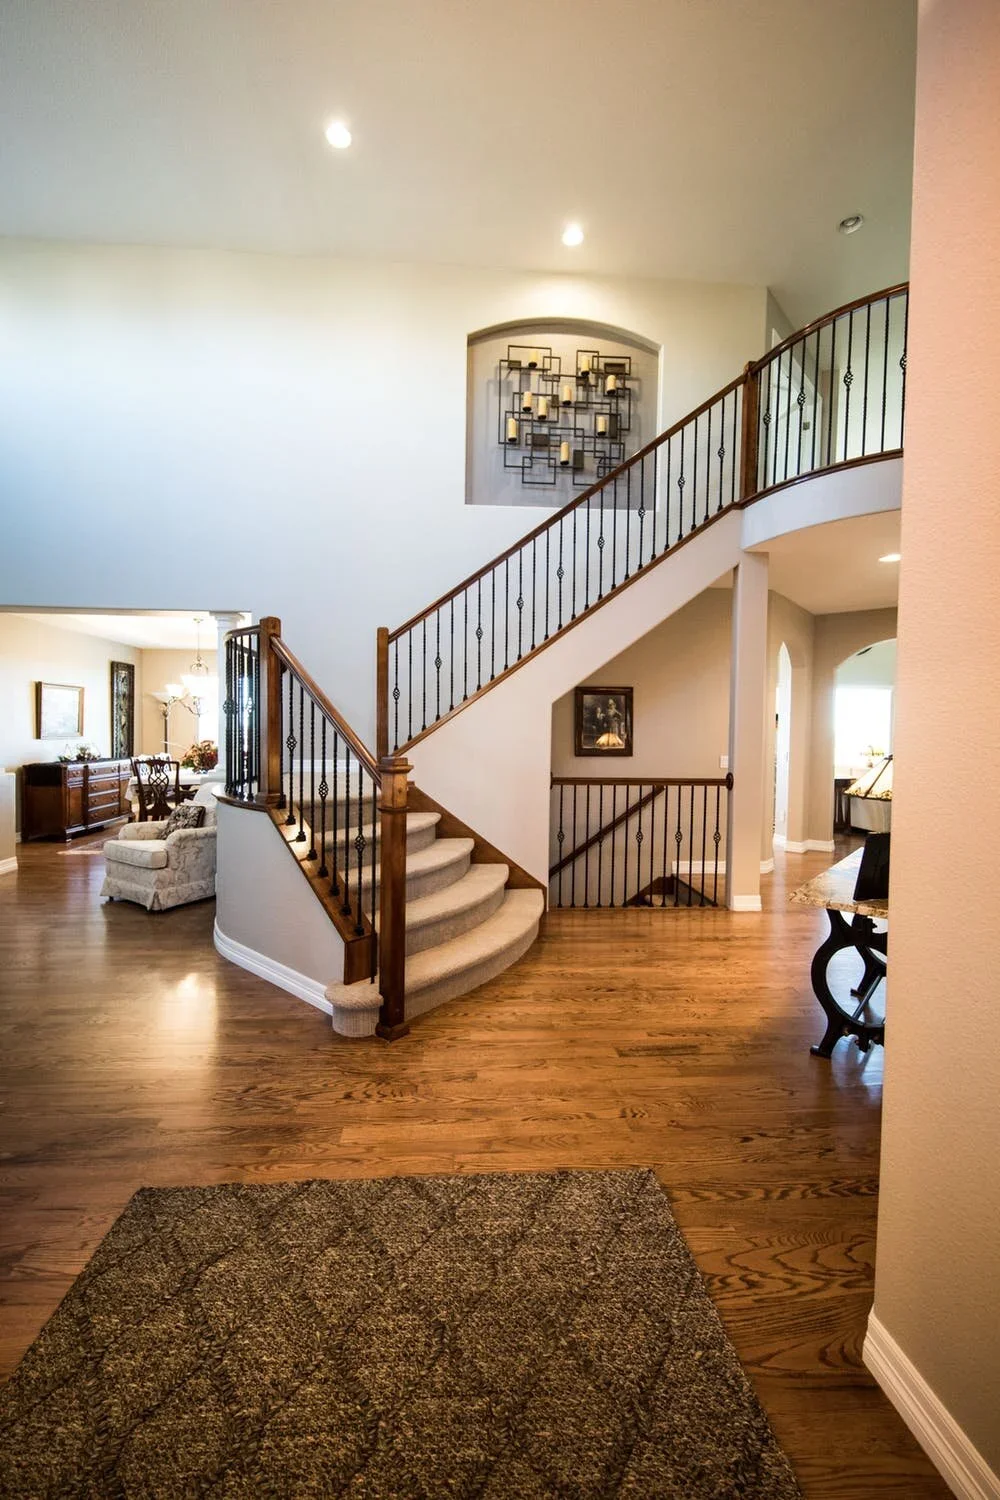
Interior Process
We protect your home, prep the surfaces, and focus on clean lines so each room feels fresh and finished.
Step 1 | Interior Walkthrough
We start by walking through the areas you want painted, reviewing the walls, ceilings, trim, doors, and any details that need attention. This helps us understand the scope of the project and give you clear expectations before the work begins.
Step 2 | Color & Finish Planning
If you already know your colors, we’ll make sure everything is clear before starting. If you’re still deciding, we can help you think through what makes sense for the space, lighting, and overall look of your home.
Step 3 | Home Protection
Before painting begins, we protect the areas around the project. Floors, furniture, fixtures, and surrounding surfaces are covered so your home stays clean and organized while the work is being done.
Step 4 | Surface Prep
A clean finish starts with proper prep. Depending on the room, this may include light sanding, patching small imperfections, filling nail holes, caulking gaps, and making sure the surfaces are ready for paint.
Step 5 | Professional Interior Painting
Once the prep is complete, we apply the paint carefully with attention to coverage, clean lines, and a smooth finished look. Whether we’re painting walls, ceilings, trim, or doors, the goal is a clean result that makes the space feel refreshed.
Step 6 | Cleanup & Final Walkthrough
After the painting is finished, we clean up the work area, remove coverings, and review the project with you. Before we wrap up, we make sure the space looks clean, finished, and ready to enjoy.
Exterior Process
We clean, prep, protect, and paint your home’s exterior with care so it looks better and holds up properly.
Step 1 | Exterior Walkthrough
We start by looking over the exterior of your home and reviewing the areas that need to be painted. This includes siding, trim, doors, shutters, fascia, soffits, and any other exterior details that need attention.
Step 2 | Color & Finish Planning
Before any work begins, we make sure the color and finish direction is clear. Exterior colors can change depending on sunlight, brick, roofing, landscaping, and surrounding details, so this step helps make sure the final look fits your home.
Step 3 | Surface Cleaning
Exterior surfaces need to be clean before paint is applied. Dirt, dust, mildew, and buildup can affect the final result, so we clean the surfaces properly before moving into prep.
Step 4 | Scraping, Sanding & Repairs
Any loose or peeling paint needs to be addressed before new paint goes on. We scrape loose areas, sand rough spots, and handle minor prep details that help the finished paint job look cleaner and hold up better.
Step 5 | Caulking & Sealing
Gaps, cracks, and open seams can make an exterior paint job look unfinished. Where needed, we caulk and seal key areas to help create a cleaner, more protected finish.
Step 6 | Protecting The Property
Before painting, we protect windows, landscaping, walkways, fixtures, and surrounding areas. Exterior painting should improve your home, not leave a mess behind.
Step 7 | Professional Exterior Painting
Once the home is cleaned, prepped, and protected, we apply the paint with care. Our focus is clean coverage, sharp details, and a finished exterior that improves curb appeal while helping protect your home.
Step 8 | Cleanup & Final Walkthrough
After the painting is complete, we clean up the work area and walk through the project with you. The goal is simple: a home that looks fresher, cleaner, and more cared for from the outside.
Cabinet Process
We carefully clean, prep, prime, finish, and reassemble your cabinets for a clean kitchen upgrade.
Step 1 | Cabinet Walkthrough
We start by looking at your cabinets, reviewing their condition, and understanding the look you want for your kitchen. This helps us determine what needs to be painted, what prep is required, and what kind of finish makes sense for the space.
Step 2 | Color & Finish Planning
Cabinet color has a big impact on the entire kitchen. Before starting, we make sure the color and finish direction is clear so the cabinets work with your countertops, floors, backsplash, hardware, lighting, and overall style.
Step 3 | Remove Doors & Hardware
Cabinet doors, drawers, and hardware are carefully removed so each piece can be prepped and finished properly. This helps create a cleaner result than trying to paint everything in place.
Step 4 | Cleaning & Degreasing
Cabinets are touched every day, especially around handles, cooking areas, and high-use spaces. Before sanding or priming, the surfaces need to be cleaned properly so the finish can bond the way it should.
Step 5 | Sanding & Surface Prep
Cabinet painting is all about prep. We sand and prepare the doors, drawers, frames, and surfaces to help create a smooth, clean foundation before primer and finish coats are applied.
Step 6 | Priming
Primer helps create a strong base for the new finish. This step is important because cabinets need more durability and adhesion than a basic wall painting project.
Step 7 | Cabinet Finish Application
Once everything is prepped and primed, we apply the cabinet finish with care. The goal is a clean, updated look that makes your kitchen feel brighter, newer, and more finished without replacing the cabinets.
Step 8 | Reassembly & Touch-Ups
After the finish has dried properly, the doors, drawers, and hardware are reinstalled. We check the details, handle any needed touch-ups, and make sure everything looks clean and complete.
Step 9 | Final Walkthrough
Before the project is finished, we walk through the kitchen with you and make sure the cabinets look right. The end result should feel like a real kitchen upgrade without the cost and disruption of replacing everything.